Setting up a desktop computer
Step 1
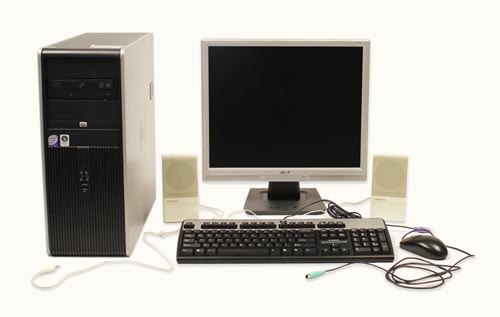
Unpack the monitor and computer case from the box. Remove any plastic covering or protective tape. Place the monitor and computer case where you want on a desk or work area.
Think about where you want your desk or work area to be located, and where you want your monitor, computer case, and other hardware to be. Be sure to place your computer case in an area that is well ventilated and that has good air flow. This will help to prevent overheating.
Step 2
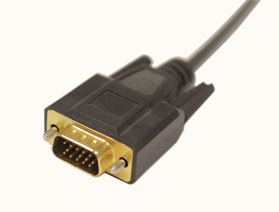
Locate the monitor cable. There are several types of monitor cables, so the one on your computer may not look like the one in the image at the left. If you're having trouble finding your monitor cable, refer to the instruction manual for your computer. (If you have an all-in-one computer that's built into the monitor, you can skip to Step 4).
Step 3
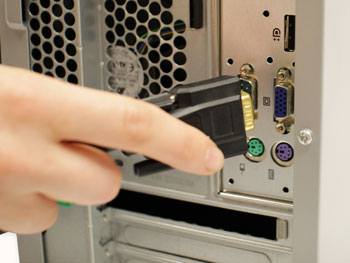
Connect one end of the cable to the monitor port on the back of the computer case and the other end to the monitor. Hand tighten the plastic-covered screws on the monitor cable to secure it.
Step 4
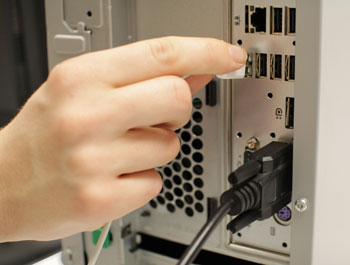
Unpack the keyboard and determine whether it uses a USB(rectangular) connector or a PS/2 (round) connector. If it uses a USB connector, plug it into any of the USB ports on the back of the computer. If it uses a PS/2 connector, plug it into the purple keyboard port on the back of the computer.
Step 5
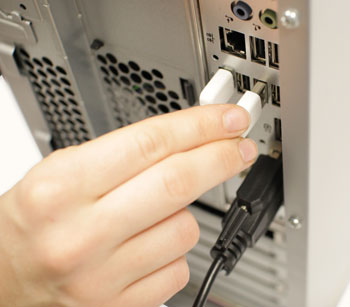
Unpack the mouse and determine whether it uses a USB (rectangular) connector or a PS/2 (round) connector. If it uses a USB connector, plug it into any of the USB ports on the back of the computer. If it uses a PS/2 connector, plug it into the green mouse port on the back of the computer.
If your keyboard has a USB port, you can connect your mouse to the keyboard instead of connecting it directly to your computer.
If you have a wireless mouse or keyboard, you may need to connect a Bluetooth dongle (USB adapter) to your computer. However, many computers have built-in Bluetooth, so a dongle may not be necessary.
Step 6
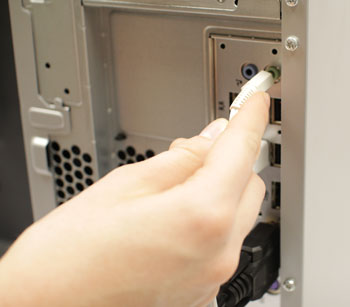
If you have external speakers or headphones, you can connect them to your computer's audio port (either on the front or the back of the computer case). Many computers have color-coded ports. Speakers or headphones connect to the green port, and a microphone connects to the pink port. The blue port is the line in, which can be used with other types of devices.
Some speakers, headphones, and microphones have USB connectors instead of the usual audio plug. These can be connected to any USB port. In addition, many computers have speakers or microphones built into the monitor.
Step 7
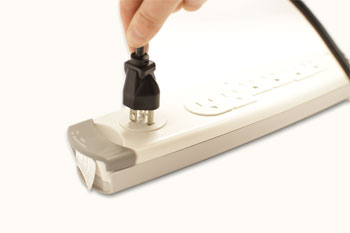
Locate the two power supply cables that came with your computer. Plug the first power supply cable into the back of the computer case, and then into a surge protector. Then, using the other cable, connect the monitor to the surge protector.
Step 8
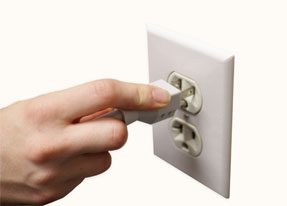
Finally, plug the surge protector into a wall outlet. You may also need to turn on the surge protector if it has a power switch.
If you don't have a surge protector, you can plug the computer directly into the wall. However, this is not recommended because electrical surges can damage your computer.
Setup complete
Your basic computer hardware is now set up. Before you start it up, spend some time arranging your workspace. A workspace that is arranged well can improve your productivity and promote health.
No comments:
Post a Comment